My First Day Using Git On Windows 7
Background
I recently started a project for a client where I’ve been testing changes on my machines, then pushing bits of functionality to their QA server. To keep track of the changes I’m making to the system, and to be able to roll back to previous versions of my own code, I decided to try out Git as my source/version control system.
Installation
The install of Git and Tortoise Git was simple. Git had a few “scary” looking options, but it seemed like the safe way to go was to use the defaults, so I did just that. FYI, I wasn’t thinking when I first started and tried to use TortoiseGit without Git actually installed locally. That didn’t work! Make sure you install Git in addition to TortoiseGit! The order in which they are installed does not seem to matter.
Usage
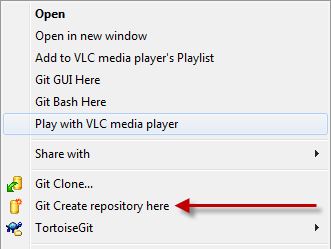
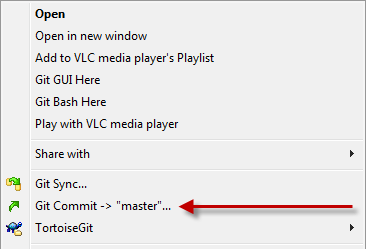
For my first task, I ran a default install of Kentico CMS 5.5 and tried to check it in to my local repository. Since I’m not really a fan of the command line, I started with TortoiseGit. I used the explorer context menu to create a repository without problems. Super fast, super simple:

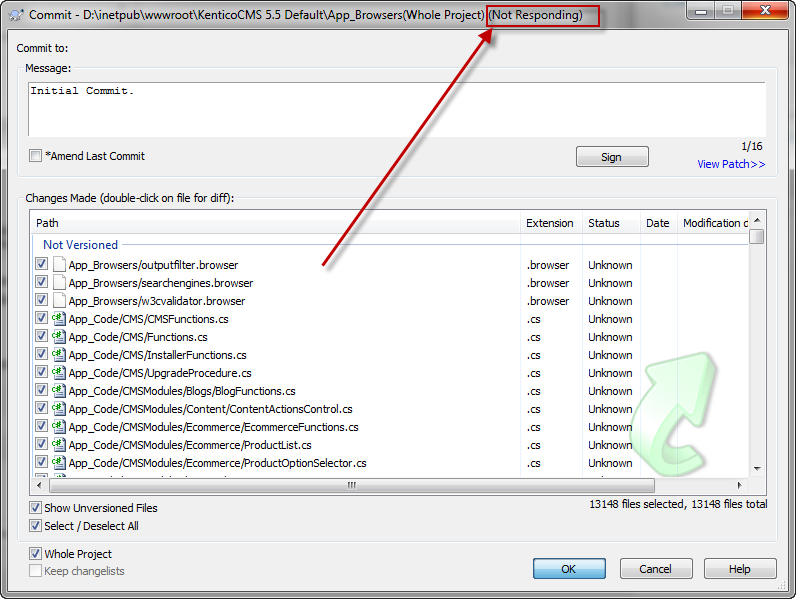
Next, I used the explorer context menu to try and commit the whole website directory. No dice. TortoiseGit hung for a long time and I remember seeing some errors about line endings or something. (I later tried using TortoiseGit again, and while it took a LONG time, it did work)
At that point I fell back on the command line, and things went smoothly from there. I decided to start over with the command line so I deleted the “.git” directory. Since git stores _almost _everything in that directory, that removed any trace of Git from my project/website. To compare this process to SVN, you would have to do an export of the folder, or use some other method to remove all of the nested SVN folders.
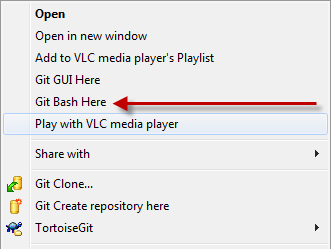
With a clean slate, I opened the command line by bringing up the explorer context menu, and clicking “Git Bash Here”.
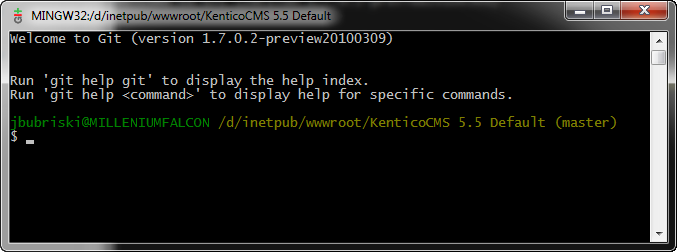
That brings up the Git Bash.
Now that I was in the Bash, I needed to (re) init the Git Repository, add the files to the staging area, and then commit the files to the local repository:
- git init
- git add . (I think “git init *” works too)
- git commit -m “Your commit message here”
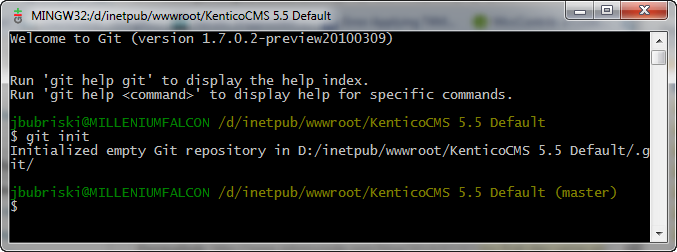
I was going to post the “add” and “commit” screenshots here, but it didn’t make sense since the output is so long (13,000+ files). But it wasn’t anything that interesting. At that point I was ready to rock and roll and start modifying and adding source code! After changing a file, I ran the “git status” command to see what was changed. Then I ran the commit command with the “-am” flags to commit all previously added files so I didn’t have to add them again manually. I also specified another commit message.
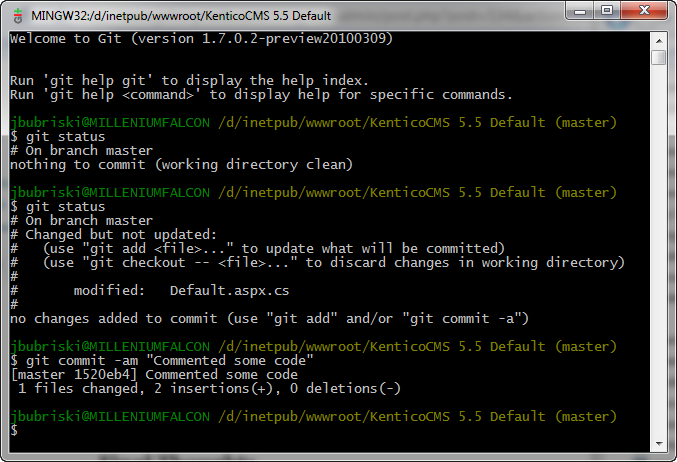
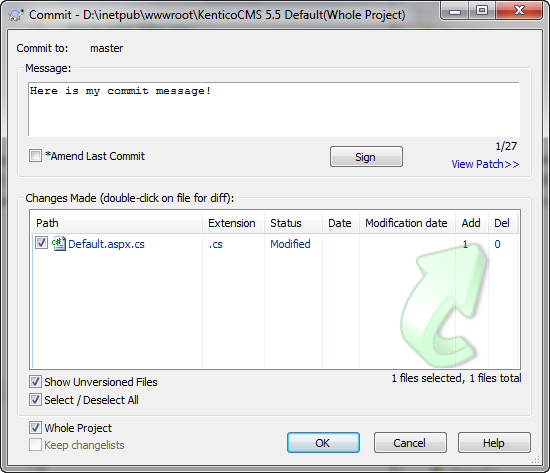
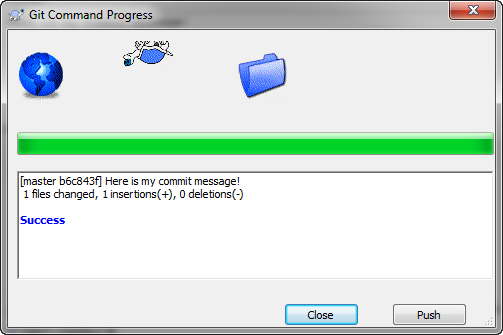
Easy as can be! No surprises here, but again, I wasn’t doing anything fancy. Just committing some simple code changes into my local repository. In case you were wondering, I did go and try out TortoiseGit for making commits too, and didn’t have any problems.
Final Thoughts
Obviously I didn’t utilize any of the advanced or powerful features of Git (yet). All I did was get up and running with a repository, and start making simple commits. However, I am pleased with the similarities of Git to other version control systems. Hopefully, taking the next steps with Git will be just as easy. If I end up jumping into the more complex and useful features of Git, I’ll try and write another post! Thanks!